Nyx renderer#
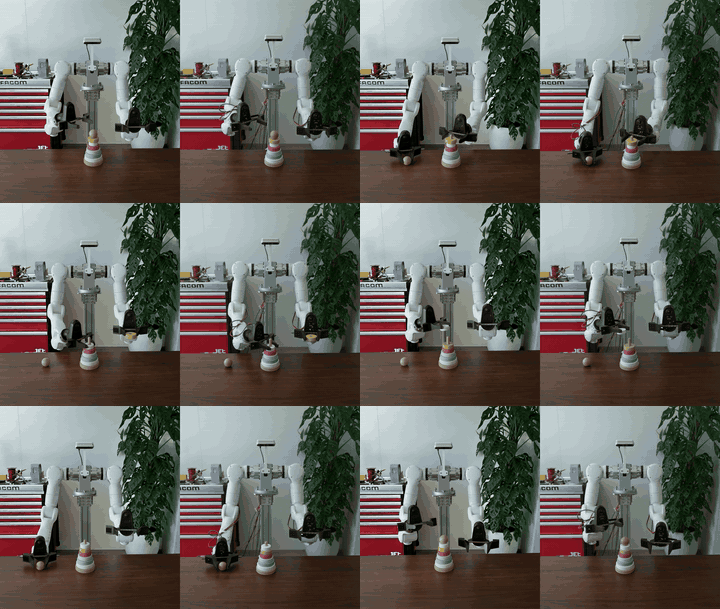
Nyx is a GPU-accelerated path tracer built in-house for Genesis World. It produces physically based, photorealistic frames (suitable for robotics datasets, demos, and synthetic perception) and plugs into a scene as a camera sensor rather than as a scene-wide renderer.
That distinction is the whole idea. The other rendering backends are selected once for the entire scene with gs.Scene(renderer=...). Nyx instead attaches per camera with scene.add_sensor(NyxCameraOptions(...)), so a single scene can pair fast rasterized cameras for control loops with a photorealistic Nyx camera for the frames you keep. Rendering runs during scene.step(), and you read frames back from cam.read().rgb.
When to use Nyx#
Genesis World offers several ways to turn a scene into pixels (see Rendering for the full list). Choose by what you need:
You want… |
Use |
|---|---|
An interactive window while iterating |
the viewer |
Fast, non-photorealistic camera frames for control and debugging |
|
High-throughput rendering across many environments |
|
Photorealistic frames: PBR materials, HDRI lighting, Gaussian splats |
Nyx |
Genesis World also ships an older path tracer, gs.renderers.RayTracer() (Luisa), for photorealistic stills. Nyx is the recommended path forward for photorealistic rendering; the RayTracer backend is being deprecated.
Installation#
Nyx ships as the separate gs-nyx package:
pip install gs-nyx
Note
gs-nyx is currently distributed through an internal package index while the project is being prepared for public release. Public installation instructions will be published at the Nyx repository once the wheel is on PyPI.
Verify the install by importing the plugin alongside Genesis World:
import genesis as gs
import gs_nyx.nyx_py_renderer as npr
import gs_nyx.nyx_py_sdk as nps
from gs_nyx_plugin.nyx_camera_options import NyxCameraOptions
The full option reference lives in the Nyx documentation.
Feature highlights:
Physically based path tracing with PBR materials forwarded as-is from GLTF/GLB assets
HDRI environment maps and analytic light sources
3D Gaussian splat (“light field”) assets rendered alongside simulated geometry
Attached and multi-camera setups, and multi-environment rendering
Per-pixel object picking
Note
The gs_nyx / gs_nyx_plugin symbols below (NyxCameraOptions, LightFieldAsset, EnvironmentMapAsset, nps.*, npr.*) ship with the gs-nyx package, not the core genesis tree. scene.add_sensor(...) is the core sensor interface Nyx hooks into.
A minimal example#
The snippet below renders a PBR ball on a plane lit purely by an HDRI environment map, the canonical “hello world” for Nyx, mirroring examples/01_hello_nyx.py in the Nyx repo.

import os
from PIL import Image

import genesis as gs
import gs_nyx.nyx_py_renderer as npr
import gs_nyx.nyx_py_sdk as nps
from gs_nyx_plugin.nyx_camera_options import NyxCameraOptions


HERE = os.path.dirname(__file__)
PBR_BALL = os.path.join(HERE, "assets", "PBR_Ball.glb")
ENV_MAP = os.path.join(HERE, "assets", "kloppenheim_07_puresky_4k.hdr")
OUTPUT_PATH = os.path.join(HERE, "out", "01_hello_nyx.png")


def main():
    gs.init()

    scene = gs.Scene(
        sim_options=gs.options.SimOptions(dt=0.01),
        show_viewer=False,
    )

    scene.add_entity(morph=gs.morphs.Plane(plane_size=(10.0, 10.0)))
    scene.add_entity(
        morph=gs.morphs.Mesh(file=PBR_BALL, pos=(0.0, 0.0, 0.0)),
        surface=gs.surfaces.Gold(),
    )

    # describe how the env map is encoded
    env_map = nps.EnvironmentMapAsset()
    env_map.texture = ENV_MAP
    env_map.layout = nps.EEnvMapLayout.LongLat
    env_map.multiplier = 8

    # attach a Nyx camera sensor
    cam = scene.add_sensor(
        NyxCameraOptions(
            res=(1920, 1080),
            pos=(-1.0, 1.0, 1.2),
            lookat=(0.0, 0.0, 0.1),
            fov=20.0,
            spp=64,
            render_mode=npr.ERenderMode.FastPathTracer,
            env_maps=(env_map,),
        )
    )

    scene.build(n_envs=1)
    scene.step()  # rendering happens during the sim step

    rgb = cam.read().rgb[0].cpu().numpy()
    os.makedirs(os.path.dirname(OUTPUT_PATH), exist_ok=True)
    Image.fromarray(rgb).save(OUTPUT_PATH)
    print(f"Saved {OUTPUT_PATH}")


if __name__ == "__main__":
    main()
Three things distinguish Nyx from the other backends:
Nyx is a sensor. Register it with
scene.add_sensor(NyxCameraOptions(...)), not as the scenerenderer.Rendering happens during
scene.step(). Read frames back viacam.read().rgb, a torch tensor with one image per environment.spp(samples per pixel) andrender_modetrade quality for speed;FastPathTraceris a good default for iteration.
Rendering a Gaussian splat#
Beyond standard meshes, Nyx can render captured 3D Gaussian splats in the same path-traced frame as simulated geometry. A splat is declared as a LightFieldAsset on the Nyx camera, not as a Genesis World entity: every Nyx sensor’s light_fields are collected at scene.build() and rendered each step.
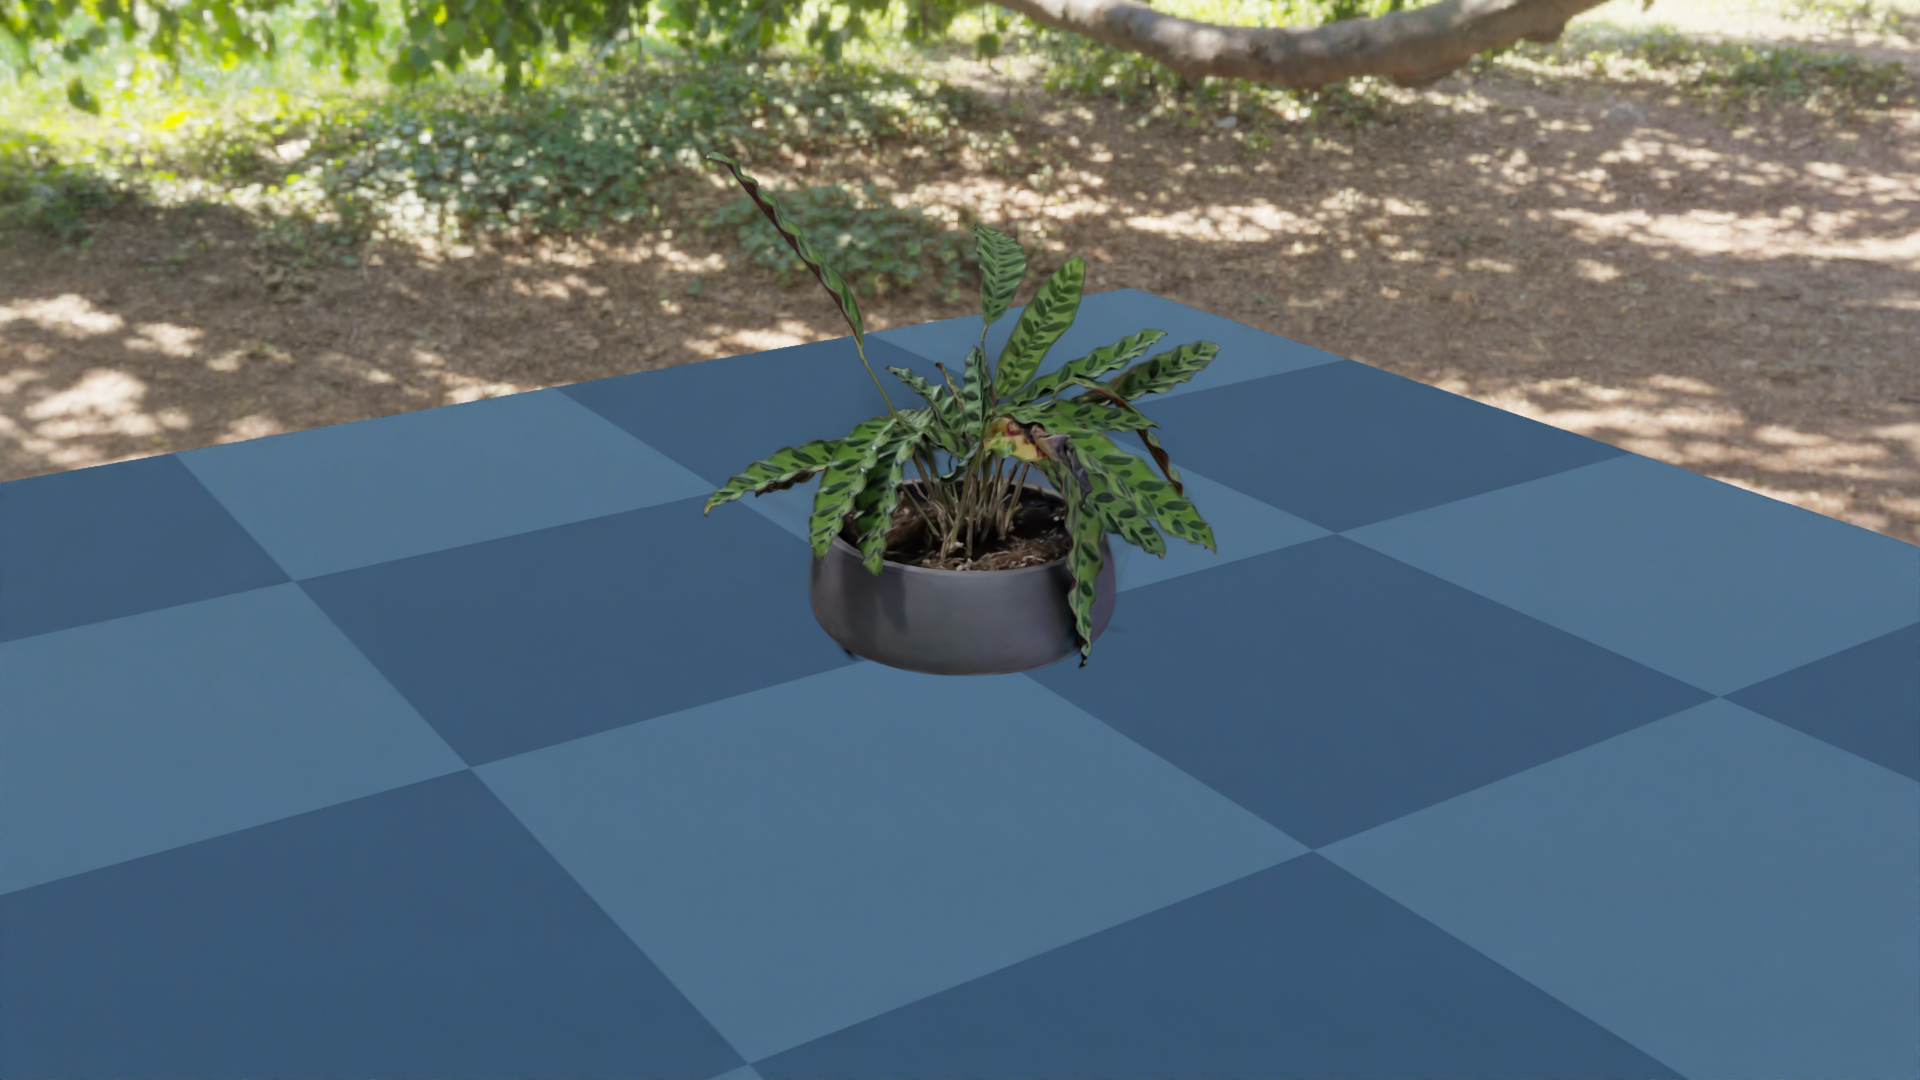
The snippet below is examples/05_gaussian_splat.py from the Nyx repo. It renders a captured plant.ply splat on a Plane under the green_sanctuary HDRI.
import os
from PIL import Image

import genesis as gs
import gs_nyx.nyx_py_renderer as npr
import gs_nyx.nyx_py_sdk as nps
from gs_nyx_plugin.nyx_camera_options import NyxCameraOptions


HERE = os.path.dirname(__file__)
PLANT_PLY = os.path.join(HERE, "assets", "plant.ply")
ENV_MAP = os.path.join(HERE, "assets", "green_sanctuary_4k.hdr")
OUTPUT_PATH = os.path.join(HERE, "out", "05_gaussian_splat.png")


def main():
    gs.init()
    os.makedirs(os.path.dirname(OUTPUT_PATH), exist_ok=True)

    scene = gs.Scene(
        sim_options=gs.options.SimOptions(dt=0.01),
        show_viewer=False,
    )

    scene.add_entity(morph=gs.morphs.Plane(plane_size=(2.0, 2.0)))

    # The splat is declared on the camera as a LightFieldAsset, not as a
    # Genesis World entity. Every Nyx sensor's light_fields are gathered at
    # scene.build() and rendered alongside simulated geometry.
    plant = nps.LightFieldAsset()
    plant.type = nps.ELightFieldType.GaussianField
    plant.uri = PLANT_PLY
    # Rotate 90° about Z to stand the capture upright in Genesis World's Z-up world.
    plant.rotation = nps.quaternion(0.0, 0.0, -0.70710678, 0.70710678)

    # HDRI env map lighting the simulated plane. The splat already bakes in
    # view-dependent color, so only the geometry needs an external light.
    env_map = nps.EnvironmentMapAsset()
    env_map.texture = ENV_MAP
    env_map.layout = nps.EEnvMapLayout.LongLat
    env_map.multiplier = 2.0

    cam = scene.add_sensor(
        NyxCameraOptions(
            res=(1920, 1080),
            pos=(1.0, 1.5, 0.8),
            lookat=(0.0, 0.0, 0.1),
            fov=30.0,
            spp=64,
            render_mode=npr.ERenderMode.FastPathTracer,
            env_maps=[env_map],
            light_fields=[plant],
        )
    )

    scene.build(n_envs=1)
    scene.step()  # rendering happens during the sim step

    rgb = cam.read().rgb[0].cpu().numpy()  # env 0 frame, shape (H, W, 3)
    Image.fromarray(rgb).save(OUTPUT_PATH)
    print(f"Saved {OUTPUT_PATH}")


if __name__ == "__main__":
    main()
Things to notice:
Splats are camera-side, not entities. A
LightFieldAssetis attached toNyxCameraOptions.light_fieldsand rendered each frame alongside simulated geometry.Splats are pre-lit. Their view-dependent color is baked in, so the HDRI environment map only needs to light the simulated
Plane.scene.step()triggers the render. Pull frames withcam.read().rgb, indexed by environment.
Where to go next#
More examples ship in the Nyx examples folder, covering attached cameras, materials, light types, object picking, and multi-camera and multi-environment rendering. For the full option reference and advanced features, see the Nyx documentation.