Rendering#
Camera sensors render a Genesis World scene to images off-screen: color, depth, segmentation, and surface normals, plus video. Unlike the viewer, they need no display, so they work headless on a render farm, in a container, or over SSH. This page covers adding a camera, the image types it produces, recording a video, lighting, and the rendering backends, from the fast default rasterizer to photorealistic path tracing.
The complete script is examples/tutorials/visualization.py.
Adding a camera#
A camera is a sensor you add to the scene. It renders independently of the viewer, so it is the tool for headless rendering and for capturing views from angles other than the viewer’s:
cam = scene.add_camera(
    res=(640, 480),  # (width, height) in pixels
    pos=(3.5, 0.0, 2.5),
    lookat=(0, 0, 0.5),
    fov=30,
    GUI=False,
)
With GUI=True, the camera opens an OpenCV window that displays each rendered frame. This is separate from the viewer window. Leave it False when running headless.
Rendering images#
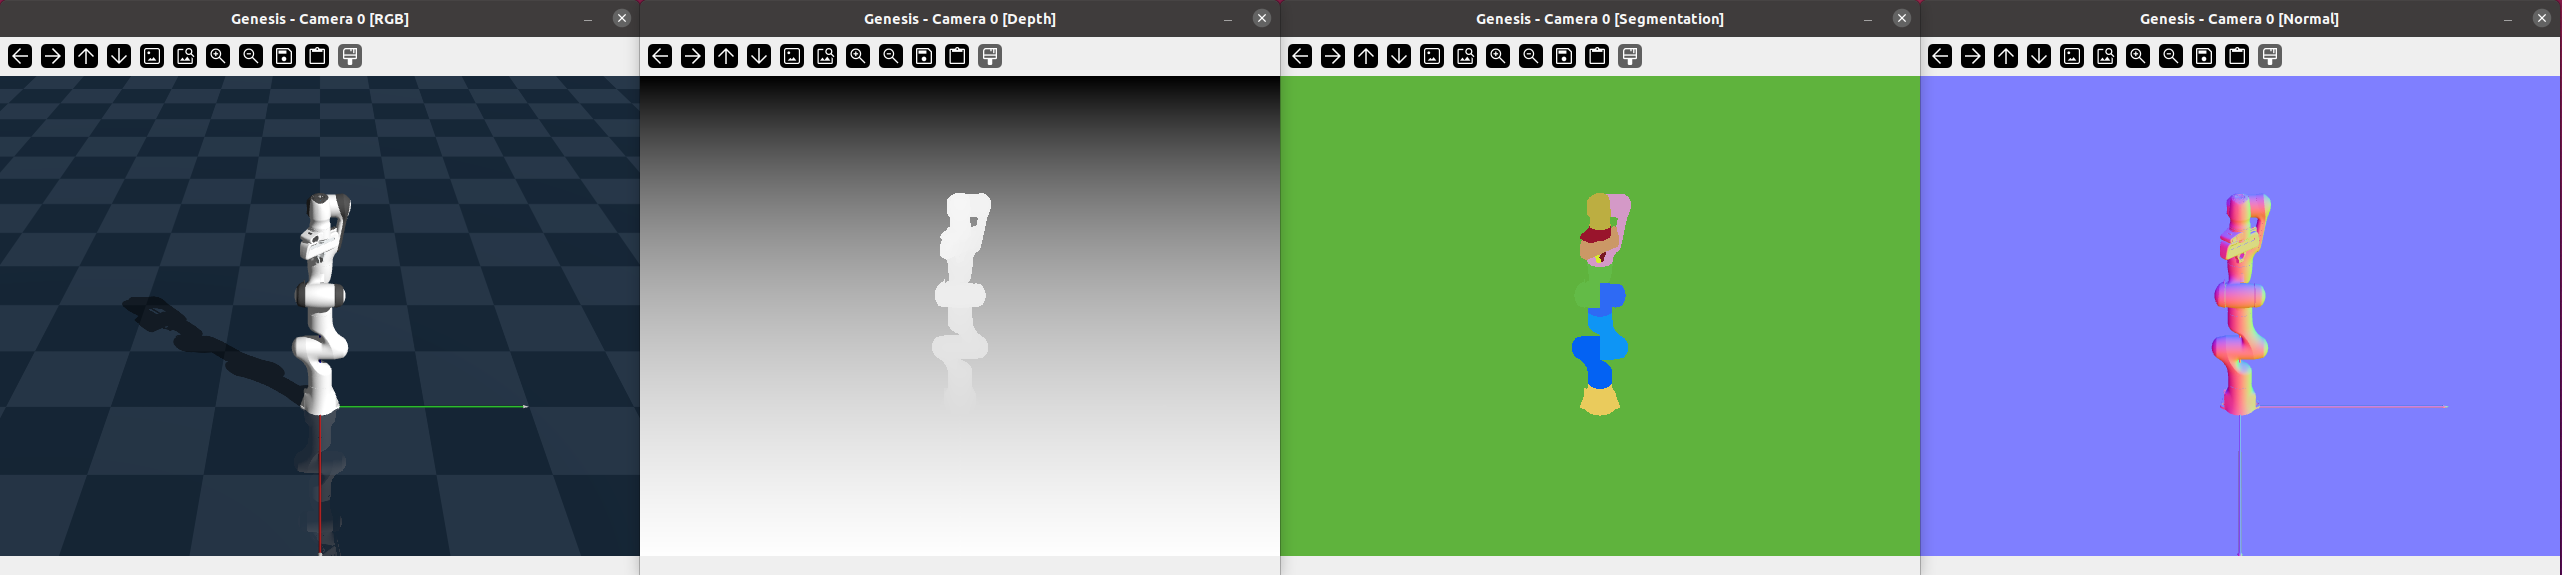
Build the scene, then call cam.render(). The camera can produce four image types: color, depth, segmentation mask, and surface normals. Only RGB is rendered by default; enable the others with keyword flags. render() always returns the four in the same order, with disabled types returned as None:
scene.build()

# render rgb, depth, segmentation, normal
rgb, depth, segmentation, normal = cam.render(rgb=True, depth=True, segmentation=True, normal=True)
Each returned array is shaped (height, width, ...) following the res=(width, height) you set. By default the segmentation mask stores an integer object index per pixel; set colorize_seg=True for a viewable color mask. The index maps back to scene objects at the level set by VisOptions.segmentation_level (for example, link_idx into scene.rigid_solver.links).
Tip
OpenCV windows opened with GUI=True sometimes render black on the first frame. Call cam.render() again to refresh them, or cv2.waitKey(1).
Recording a video#
To capture a video, call start_recording(), render a frame each step, then stop_recording() to encode the accumulated frames. Every cam.render() call between the two is added to the recording. Here the camera orbits the scene while the simulation steps:
import math

cam.start_recording()

for i in range(120):
    scene.step()
    cam.set_pose(
        pos=(3.0 * math.sin(i / 60), 3.0 * math.cos(i / 60), 2.5),
        lookat=(0, 0, 0.5),
    )
    cam.render()

cam.stop_recording(save_to_filename="video.mp4", fps=60)
If you omit save_to_filename, Genesis World generates a name from the calling script. The result:
For recording sensor and simulation data (not just video) on a schedule, see Recording data.
Lighting#
The rasterizer (the viewer and any rasterizer camera sensor) lights the scene from a list of lights on VisOptions. With no configuration it uses a single directional light, so scenes are lit out of the box; set lights to control direction, color, and intensity yourself. The light classes live in gs.options.vis:
scene = gs.Scene(
    vis_options=gs.options.VisOptions(
        lights=[
            gs.options.vis.DirectionalLight(
                dir=(-1, -1, -1),  # direction the light travels, world frame
                color=(1.0, 1.0, 1.0),  # RGB in [0, 1]
                intensity=5.0,
            ),
            gs.options.vis.PointLight(
                pos=(2.0, 0.0, 3.0),  # meters, world frame
                color=(1.0, 0.9, 0.8),
                intensity=8.0,
            ),
        ],
        ambient_light=(0.1, 0.1, 0.1),  # uniform fill so shadows are not pure black
    ),
)
Two light types are available:
DirectionalLight: parallel rays from a fixed direction, like sunlight. Setdir(the direction the light travels),color, andintensity. Position does not matter.PointLight: light radiating outward from a point. Setpos,color, andintensity.
Ambient light is a separate, uniform fill set through the ambient_light field rather than an entry in lights.
Note
This controls the rasterizer only. The ray tracer has no light objects: lights there are entities with an Emission surface, covered in Surfaces and textures. The BatchRenderer backend instead takes lights at runtime through scene.add_light(...).
Rendering backends#
gs.Scene(renderer=...) selects how camera sensors turn the scene into pixels. Genesis World provides:
gs.renderers.Rasterizer(): the default. Fast, and what the viewer always uses.gs.renderers.RayTracer(): a path tracer for photorealistic stills (see below).gs.renderers.BatchRenderer(...): high-throughput rendering across many environments (see Batch rendering with gs-madrona).
Photorealistic rendering with Nyx#
Nyx is the recommended path toward photorealistic rendering. Unlike the backends above, it attaches as a camera sensor rather than a scene-wide renderer: you add a NyxCameraOptions sensor and read frames back from cam.read().rgb. It supports PBR materials, HDRI lighting, 3D Gaussian splat assets, multi-camera and multi-environment rendering, and per-pixel object picking. See the Nyx renderer page for installation, a minimal example, and the full feature set.
Note
Roadmap. We are unifying rasterization and path tracing under Nyx as a single, sensor-based rendering interface. Nyx will gradually replace both the Luisa backend below and the default rasterizer. Over time, all camera-based rendering in Genesis World will go through Nyx.
Photorealistic rendering with Luisa (deprecating)#
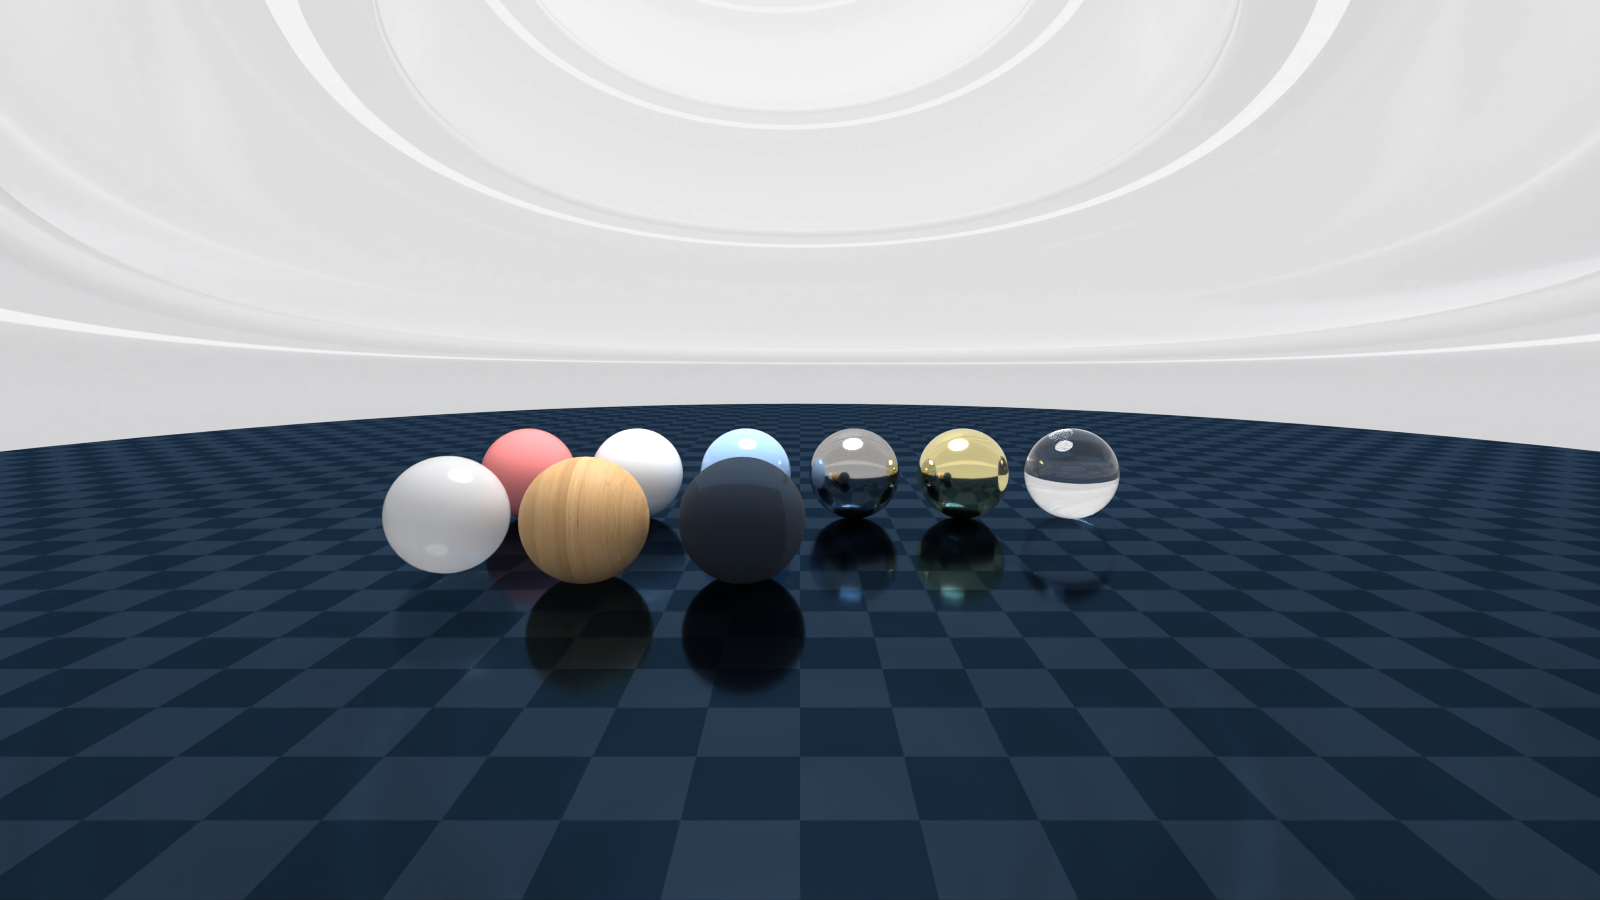
Genesis World also ships a Luisa-based ray-tracing backend. Enable it by passing renderer=gs.renderers.RayTracer() when creating the scene; it exposes extra parameters such as spp, aperture, and camera model.
Warning
This backend is deprecated in favor of Nyx and requires building LuisaRender from source. Prefer Nyx for new work.
Setup, tested on Ubuntu 22.04 with CUDA 12.4 and Python 3.9:
Fetch the submodule and install the render extras:
# inside the genesis-world repo
git submodule update --init --recursive
pip install -e ".[render]"
Ensure
gcc/g++>= 11 and CMake >= 3.26 are on yourPATH, and install the Vulkan, X11, UUID, and zlib development headers (viaaptwith sudo, orconda install -c conda-forgewithout).Build
LuisaRender:cd genesis/ext/LuisaRender cmake -S . -B build -D CMAKE_BUILD_TYPE=Release -D PYTHON_VERSIONS=3.9 \ -D LUISA_COMPUTE_DOWNLOAD_NVCOMP=ON -D LUISA_COMPUTE_ENABLE_GUI=OFF \ -D LUISA_RENDER_BUILD_TESTS=OFF cmake --build build -j $(nproc)
Run the demo:
cd examples/rendering
python demo.py
Note
Prebuilt LuisaRender binaries for common CUDA and Python combinations are available on Google Drive, named build_<commit-tag>_cuda<version>_python<version>. Download the one matching your system, rename it to build/, and place it in genesis/ext/LuisaRender. For build and CUDA-toolkit troubleshooting, see the genesis-world README.
Batch rendering with gs-madrona#
For high-throughput rendering across many parallel environments, use the gs-madrona backend by passing renderer=gs.renderers.BatchRenderer(use_rasterizer=True) (set use_rasterizer=False to path-trace instead).
Install the package first. Prebuilt wheels are available on PyPI for x86 and Python >= 3.10:
pip install gs-madrona
Then run the bundled example, which writes frames to ./image_output:
python examples/rigid/single_franka_batch_render.py
See also#
Visualization: the interactive viewer and the
gscommand-line tools.Surfaces and textures: how entities look when rendered.
Nyx renderer: photorealistic path tracing in depth.